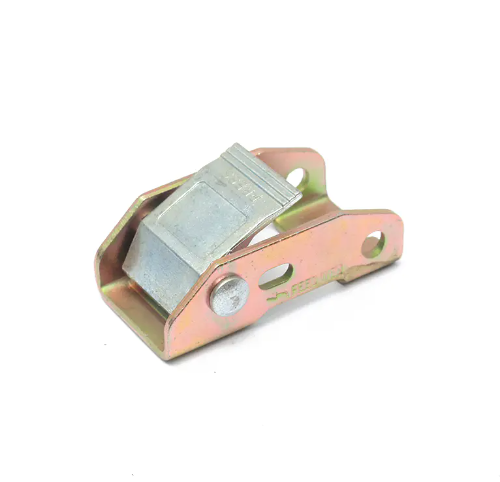
Alloy cam buckle is a buckle made of alloy material (usually zinc or aluminum). It is often used for cargo securing, such as securing items to a truck, trailer or roof rack. Alloy cam buckles are designed with a buckle mechanism to tighten straps easily and safely. They are commonly used in transportation, logistics and industrial fields to secure goods in transit.
1. Cognition of core components of alloy cam buckle
Before proceeding, please understand its three main parts:
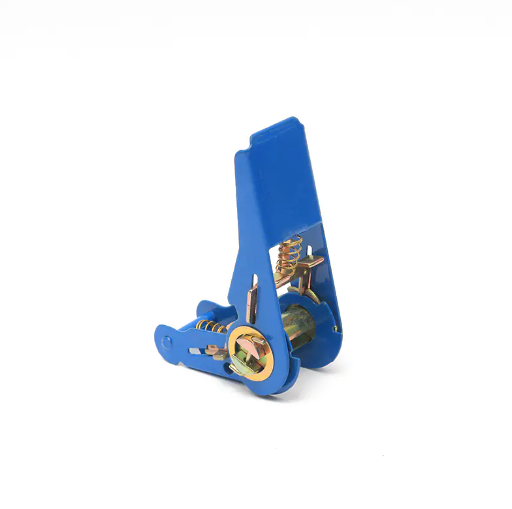
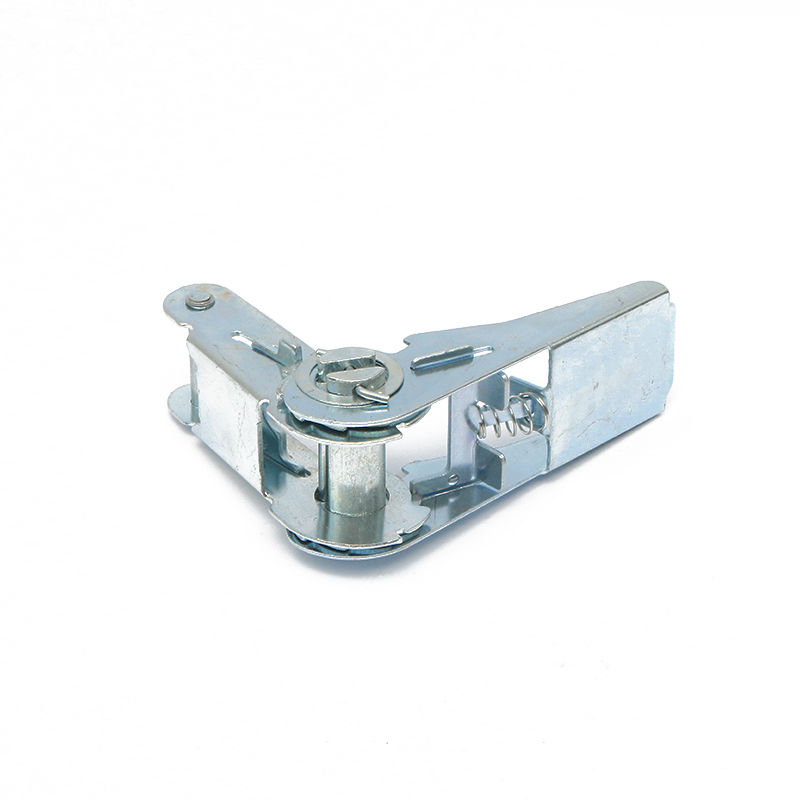
Ratchet handle: The part you operate has a "cam" and "ratchet" inside to achieve one-way locking and tightening.
Ribbon: The axis used to wrap webbing.
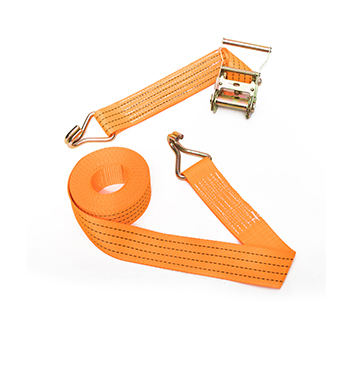
Webbing: A high-strength nylon or polyester strap with one end fixed to the belt shaft and the other end free.
2. Fixing and tightening steps
Step 1: Security Check
Check the webbing for cuts, fraying, burns or signs of age.
Check whether the ratchet mechanism is flexible and whether there is deformation or cracks.
Make sure the working load limit of the alloy buckle is well above the weight of the cargo you need to fasten.
Step 2: Initial fixation
Pass the free end of the webbing through a fixed point under the cargo (such as a truck hitch, luggage rack crossbar), and then hook the metal buckle at the end of the webbing to another loop on the strap itself, or to another reliable fixed point on the vehicle to form an initial closed loop.
Key: Make sure all hitches are securely attached to reliable anchoring points in the vehicle structure and not to plastic or thin pieces of metal.
Step 3: Tighten the webbing
To open the ratchet wrench: Lift the ratchet handle up to the fully open position. At this point, you are free to tighten the free end of the webbing to initially remove most of the slack.
Pull the handle back and forth: Pull the ratchet handle downward, and the "cam" inside will bite the webbing and tighten it a short distance, while the ratchet teeth will prevent it from turning.
Then lift the handle back to the open position and prepare for the next pull.
Repeat this "handle lifting - handle pressing" action until the webbing is tightened and the goods cannot move.
Tip: On the last pull, use your body weight to push down to ensure maximum tightness.
Step 4: Lock and Secure
After tightening, the ratchet mechanism will automatically be in a locked state.
This step is mandatory: return the handle completely to the closed position until you hear a "click" (if there is one). Many designs will have a safety latch or catch to ensure it is securely fastened to prevent accidental release due to vibration during transport.
Secure the excess free end of the webbing with the provided small rope or clip to prevent it from flapping in the wind.
3. Disassembly steps
Unlock the safety latch or buckle.
Lift the ratchet handle fully to the open position.
At this point, an internal cam releases the pressure on the webbing. Gently pull the webbing in the loosening direction with your hand, the ratchet mechanism will be completely released, and the webbing can be easily pulled out.
4. Safety precautions
No overloading: Never exceed the working load limit marked on the strap. The impact force will be much greater than the dead weight of the cargo.
Protect the webbing: Avoid direct contact between the webbing and sharp corners. Use edge protectors or old towels, rubber tubing, etc. to cushion sharp edges.
Avoid kinking the webbing, which can significantly reduce its strength.
Correct tightening angle: Try to keep the straps tied at the smallest angle possible. The greater the angle between the strap and the plane of the cargo, the greater the actual tension the strap will bear.
Store properly after use: When disassembling, do not release the webbing suddenly, but wrap it around the spool in an orderly manner. This prolongs the service life and makes it easier to use next time.